Pumpkin Carving 101: A Beginner's Step by Step Guide
Fall is here, and Halloween is creeping up fast!
At The Seasons, we’re all about getting into the spooky spirit, and what better way to celebrate than with some good old-fashioned pumpkin carving? Whether you’re a pumpkin-carving pro or it’s your first time picking up a carving tool, we’ve got you covered with this easy, budget-friendly guide. Plus, keep reading to learn about the pumpkin carving contest happening here at The Seasons!
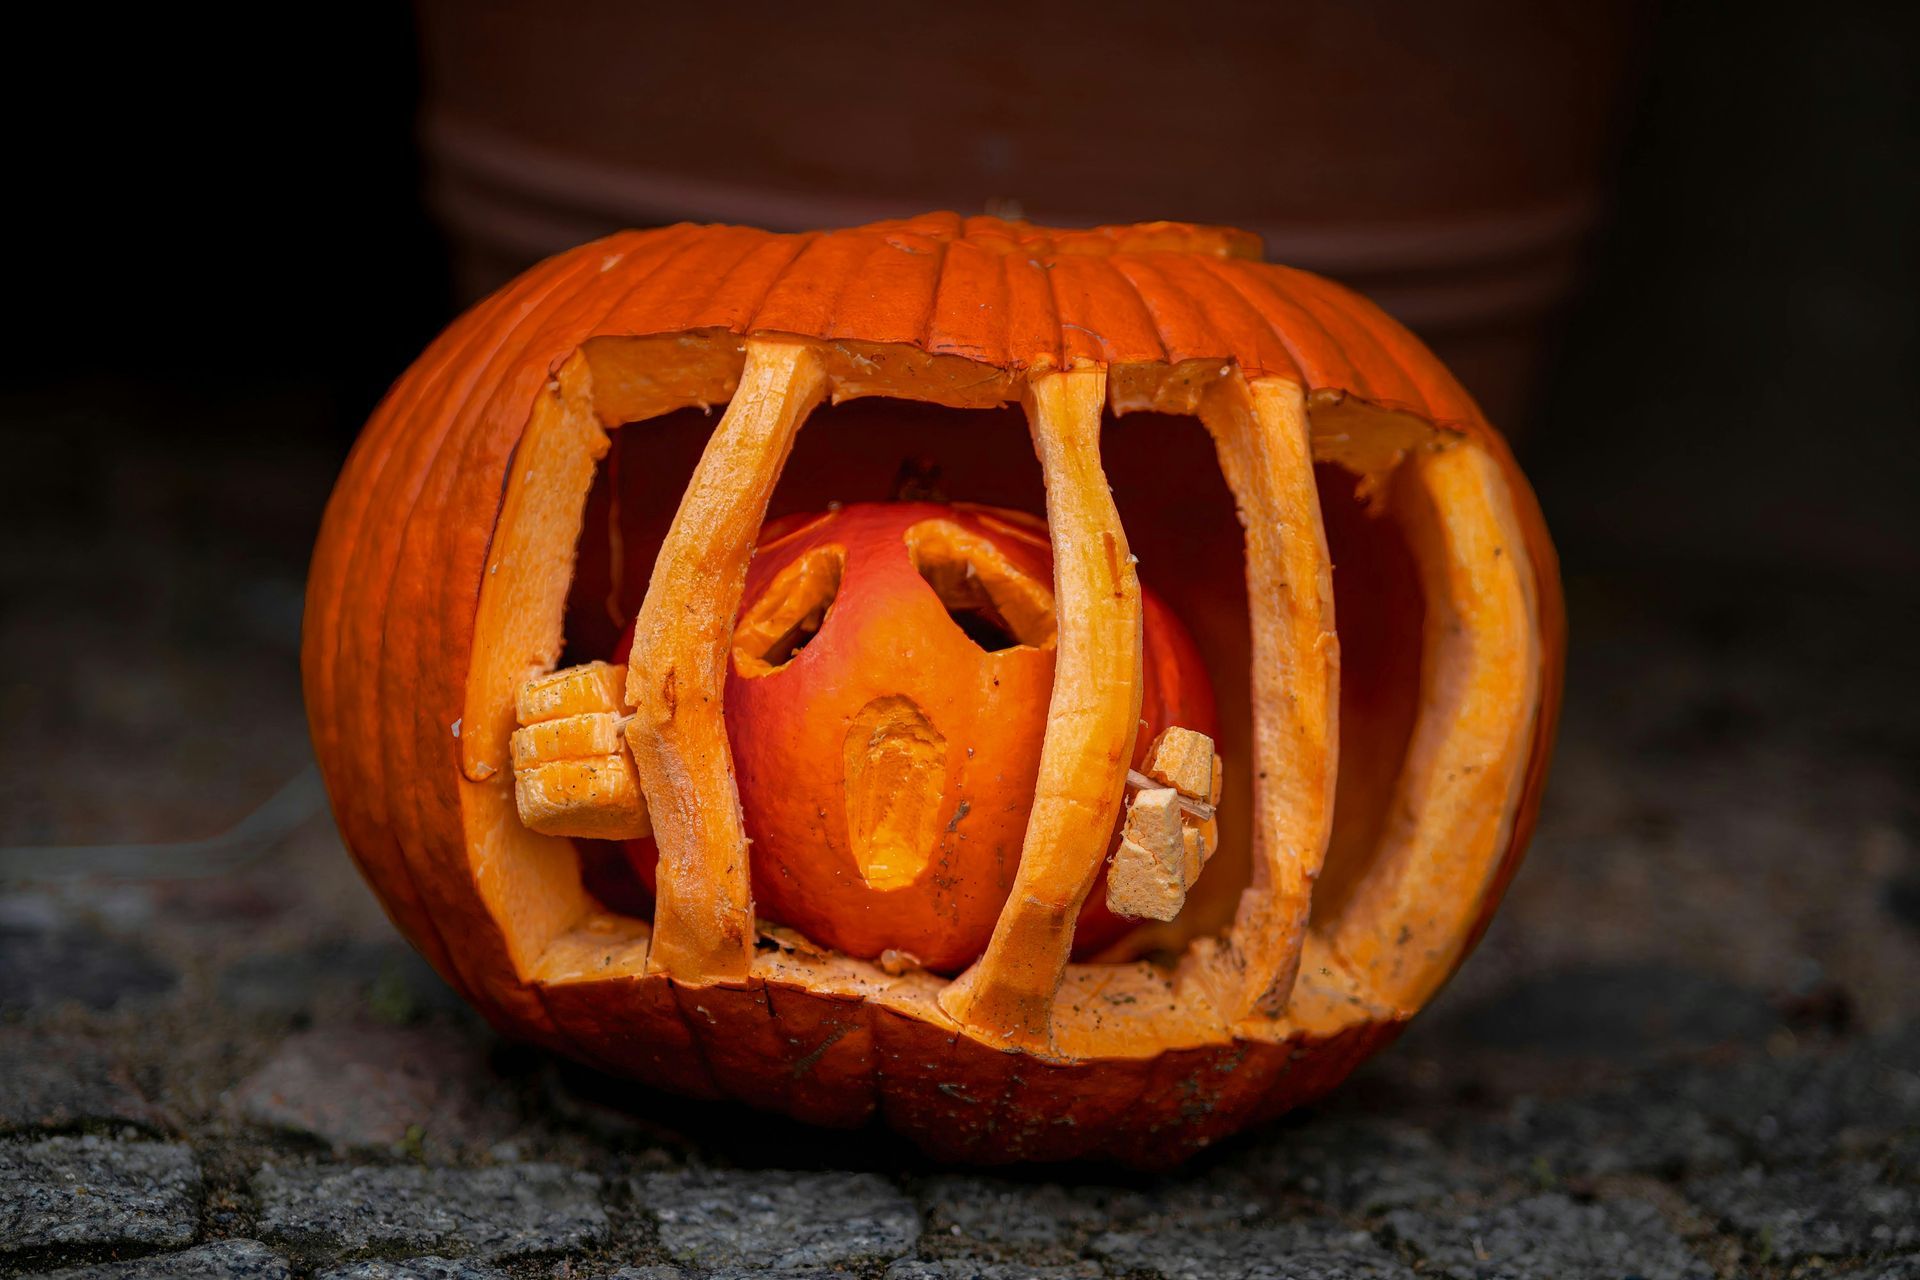
Step-by-Step Pumpkin Carving Guide
Pumpkin carving is a fun way to personalize your Halloween decor, and it’s easier than you might think! Follow these simple steps to get started:
Step 1: Gather Your Supplies
No need to break the bank—most of these items can be found at Dollar Tree, Walmart, or even Goodwill for cheap!
- A pumpkin (Check out local spots like Walmart or Trader Joe’s for affordable pumpkins)
- A pumpkin carving kit (Dollar Tree sells these for $1.25, or you can use a basic kitchen knife)
- A large spoon (for scooping out the insides)
- A marker or pen (for drawing your design)
- Newspaper or trash bags (to cover your workspace)
- A small bowl for seeds (optional, if you want to roast them!)
Step 2: Prep Your Pumpkin
Before diving into the fun part, let’s prep the pumpkin:
- Set up your workspace: Cover your table or countertop with newspaper or trash bags to make clean-up easier.
- Cut a lid: Using a sharp knife or the saw from your carving kit, cut a circle (or hexagon) around the pumpkin’s stem. Make sure the hole is big enough for your hand to fit through. Cut at an angle so the lid doesn’t fall into the pumpkin!
- Scoop out the guts: Grab your spoon and start scooping! Remove all the seeds and stringy pulp from the inside. Save the seeds in a bowl if you want to roast them later for a tasty snack.
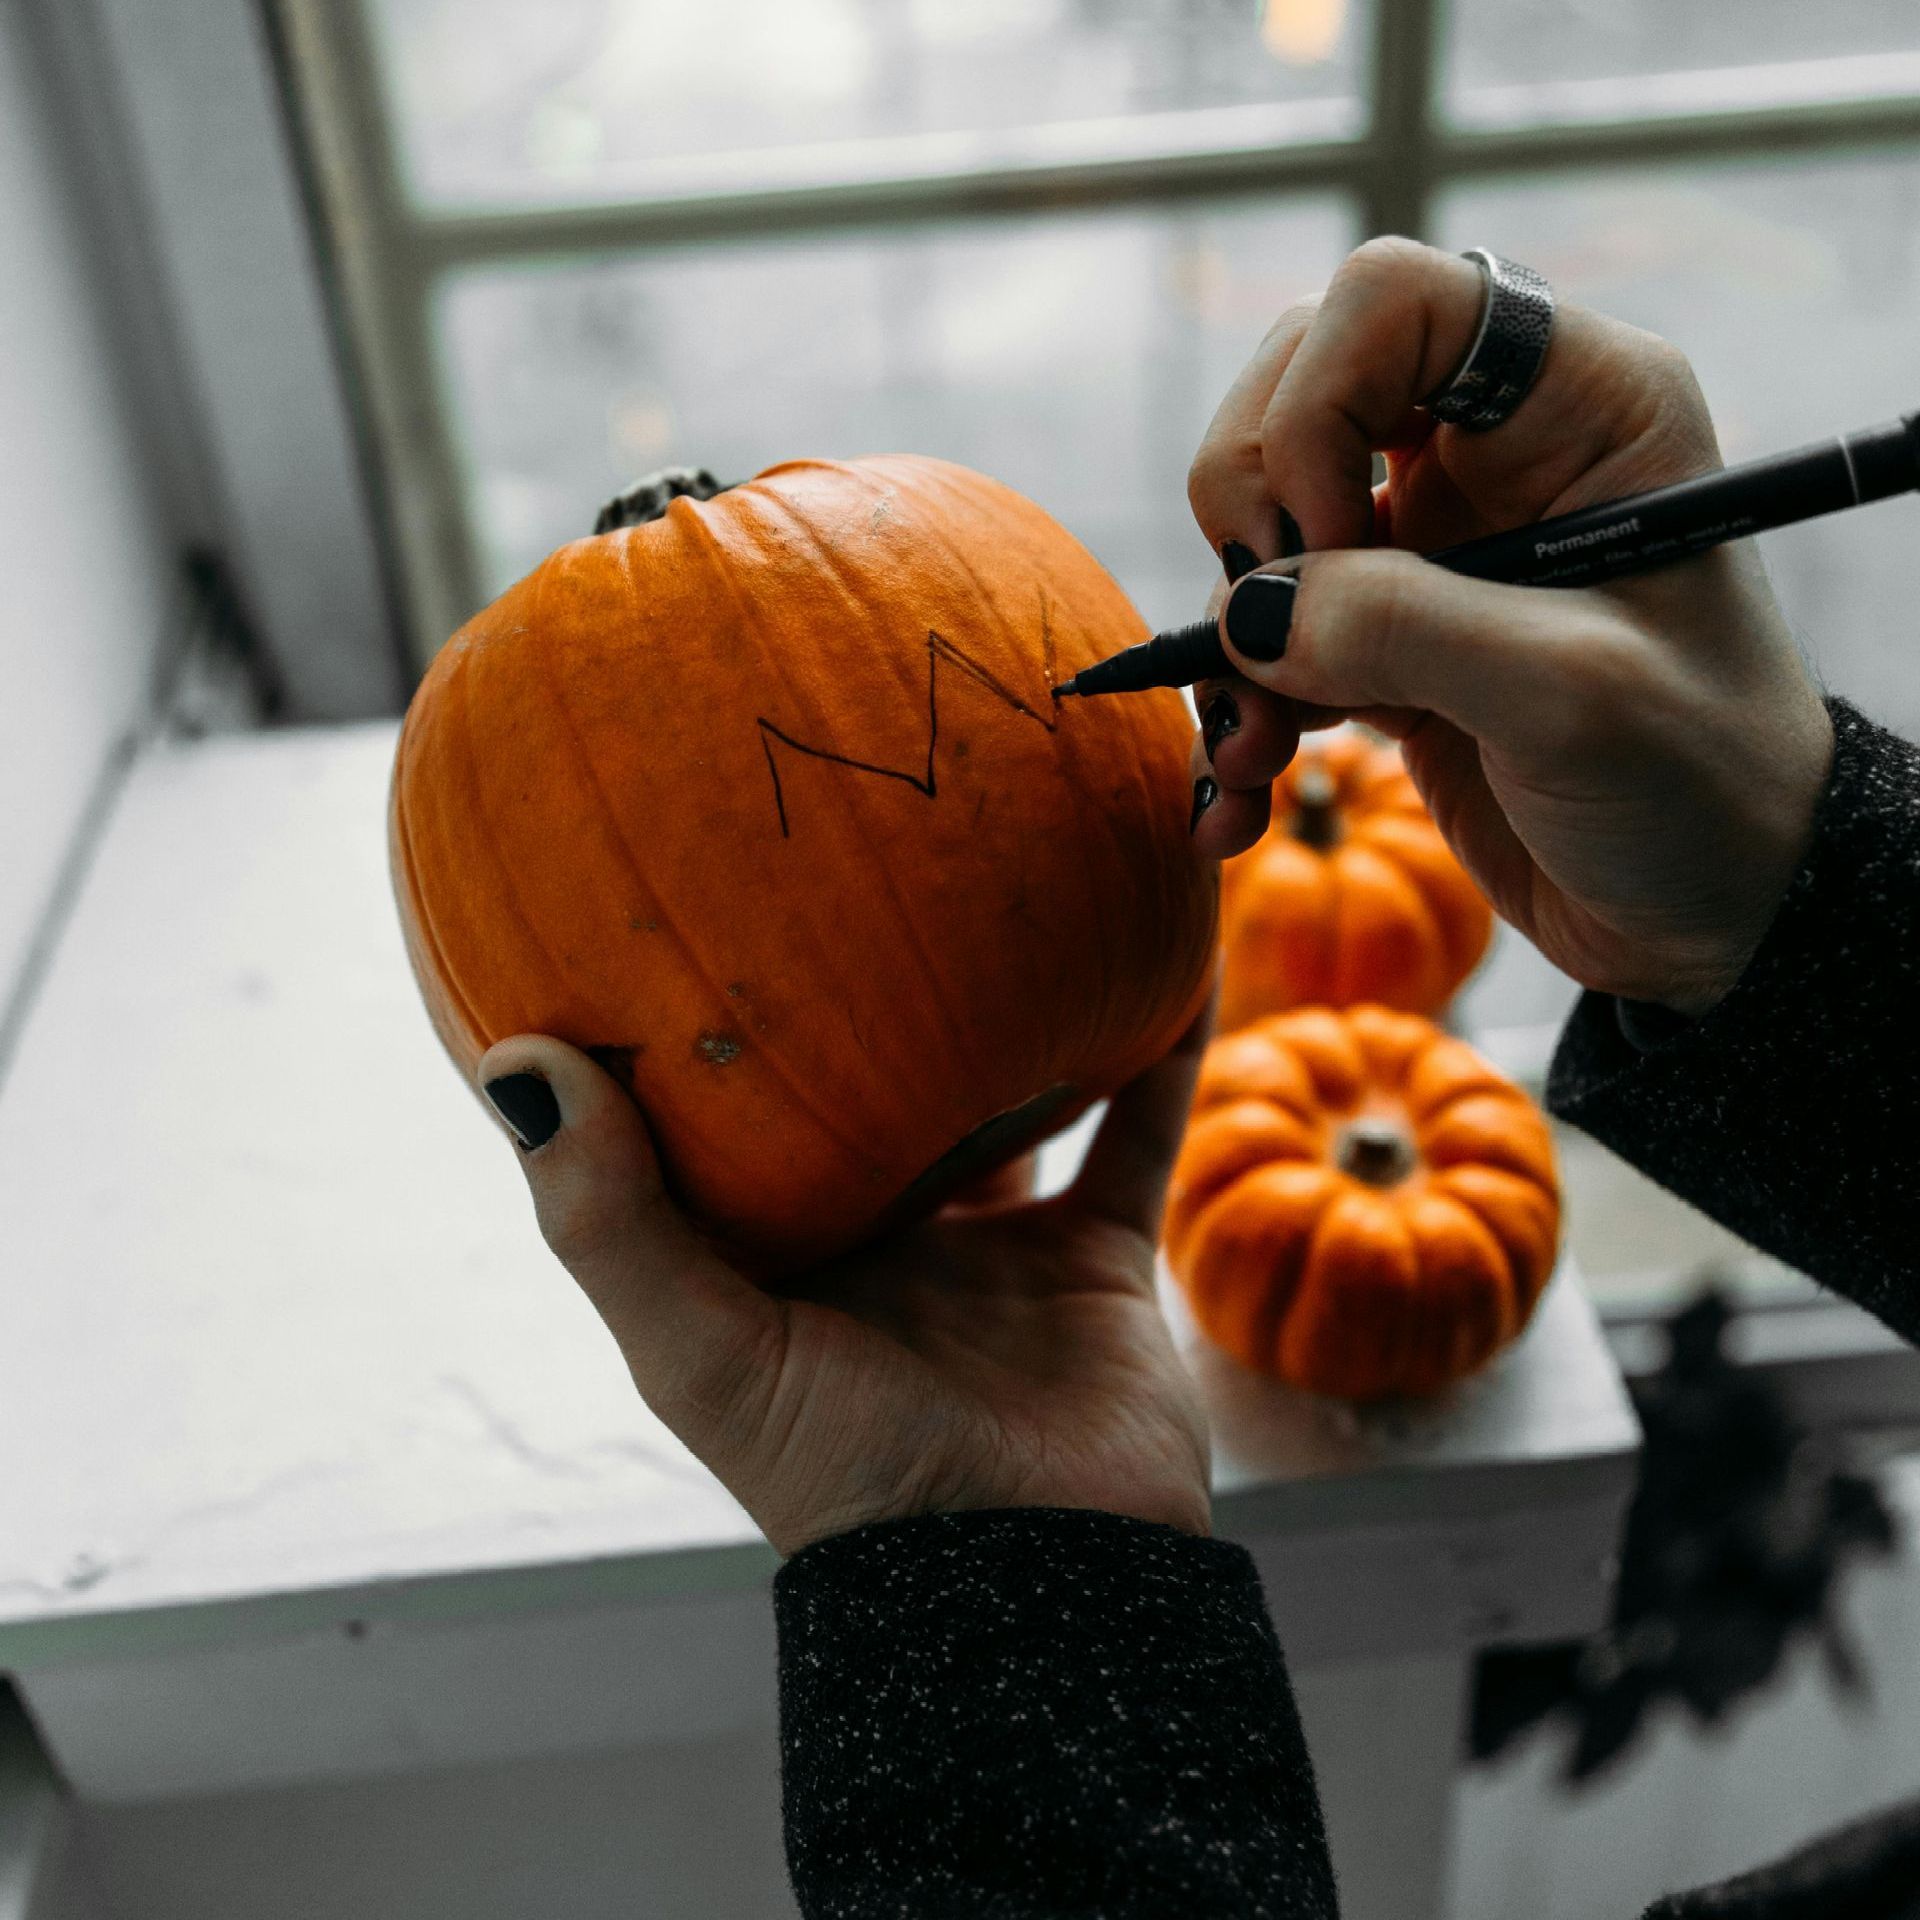
Step 3: Choose a Design
If you’re a beginner, stick to simple shapes like triangles or circles. Here’s how to get started:
- Draw your design: Use a marker to outline your design directly onto the pumpkin. You can go for a classic jack-o’-lantern face or get creative with your own ideas!
- Use a stencil (optional): If freehand drawing isn’t your thing, there are tons of free printable stencils online. Just print one out, tape it to your pumpkin, and poke small holes along the edges of the design to transfer it onto the pumpkin.
Step 4: Start Carving
Now comes the fun part—carving!
- Take your time: Use a small knife or carving tool to slowly cut along your drawn lines. If the knife gets stuck, wiggle it gently to avoid breaking the pumpkin.
- Carve out your shapes: After cutting out all the shapes, carefully push the pieces from the inside of the pumpkin to pop them out.
- Light it up: Once your design is complete, place a small candle or battery-operated light inside the pumpkin to give it that spooky glow.
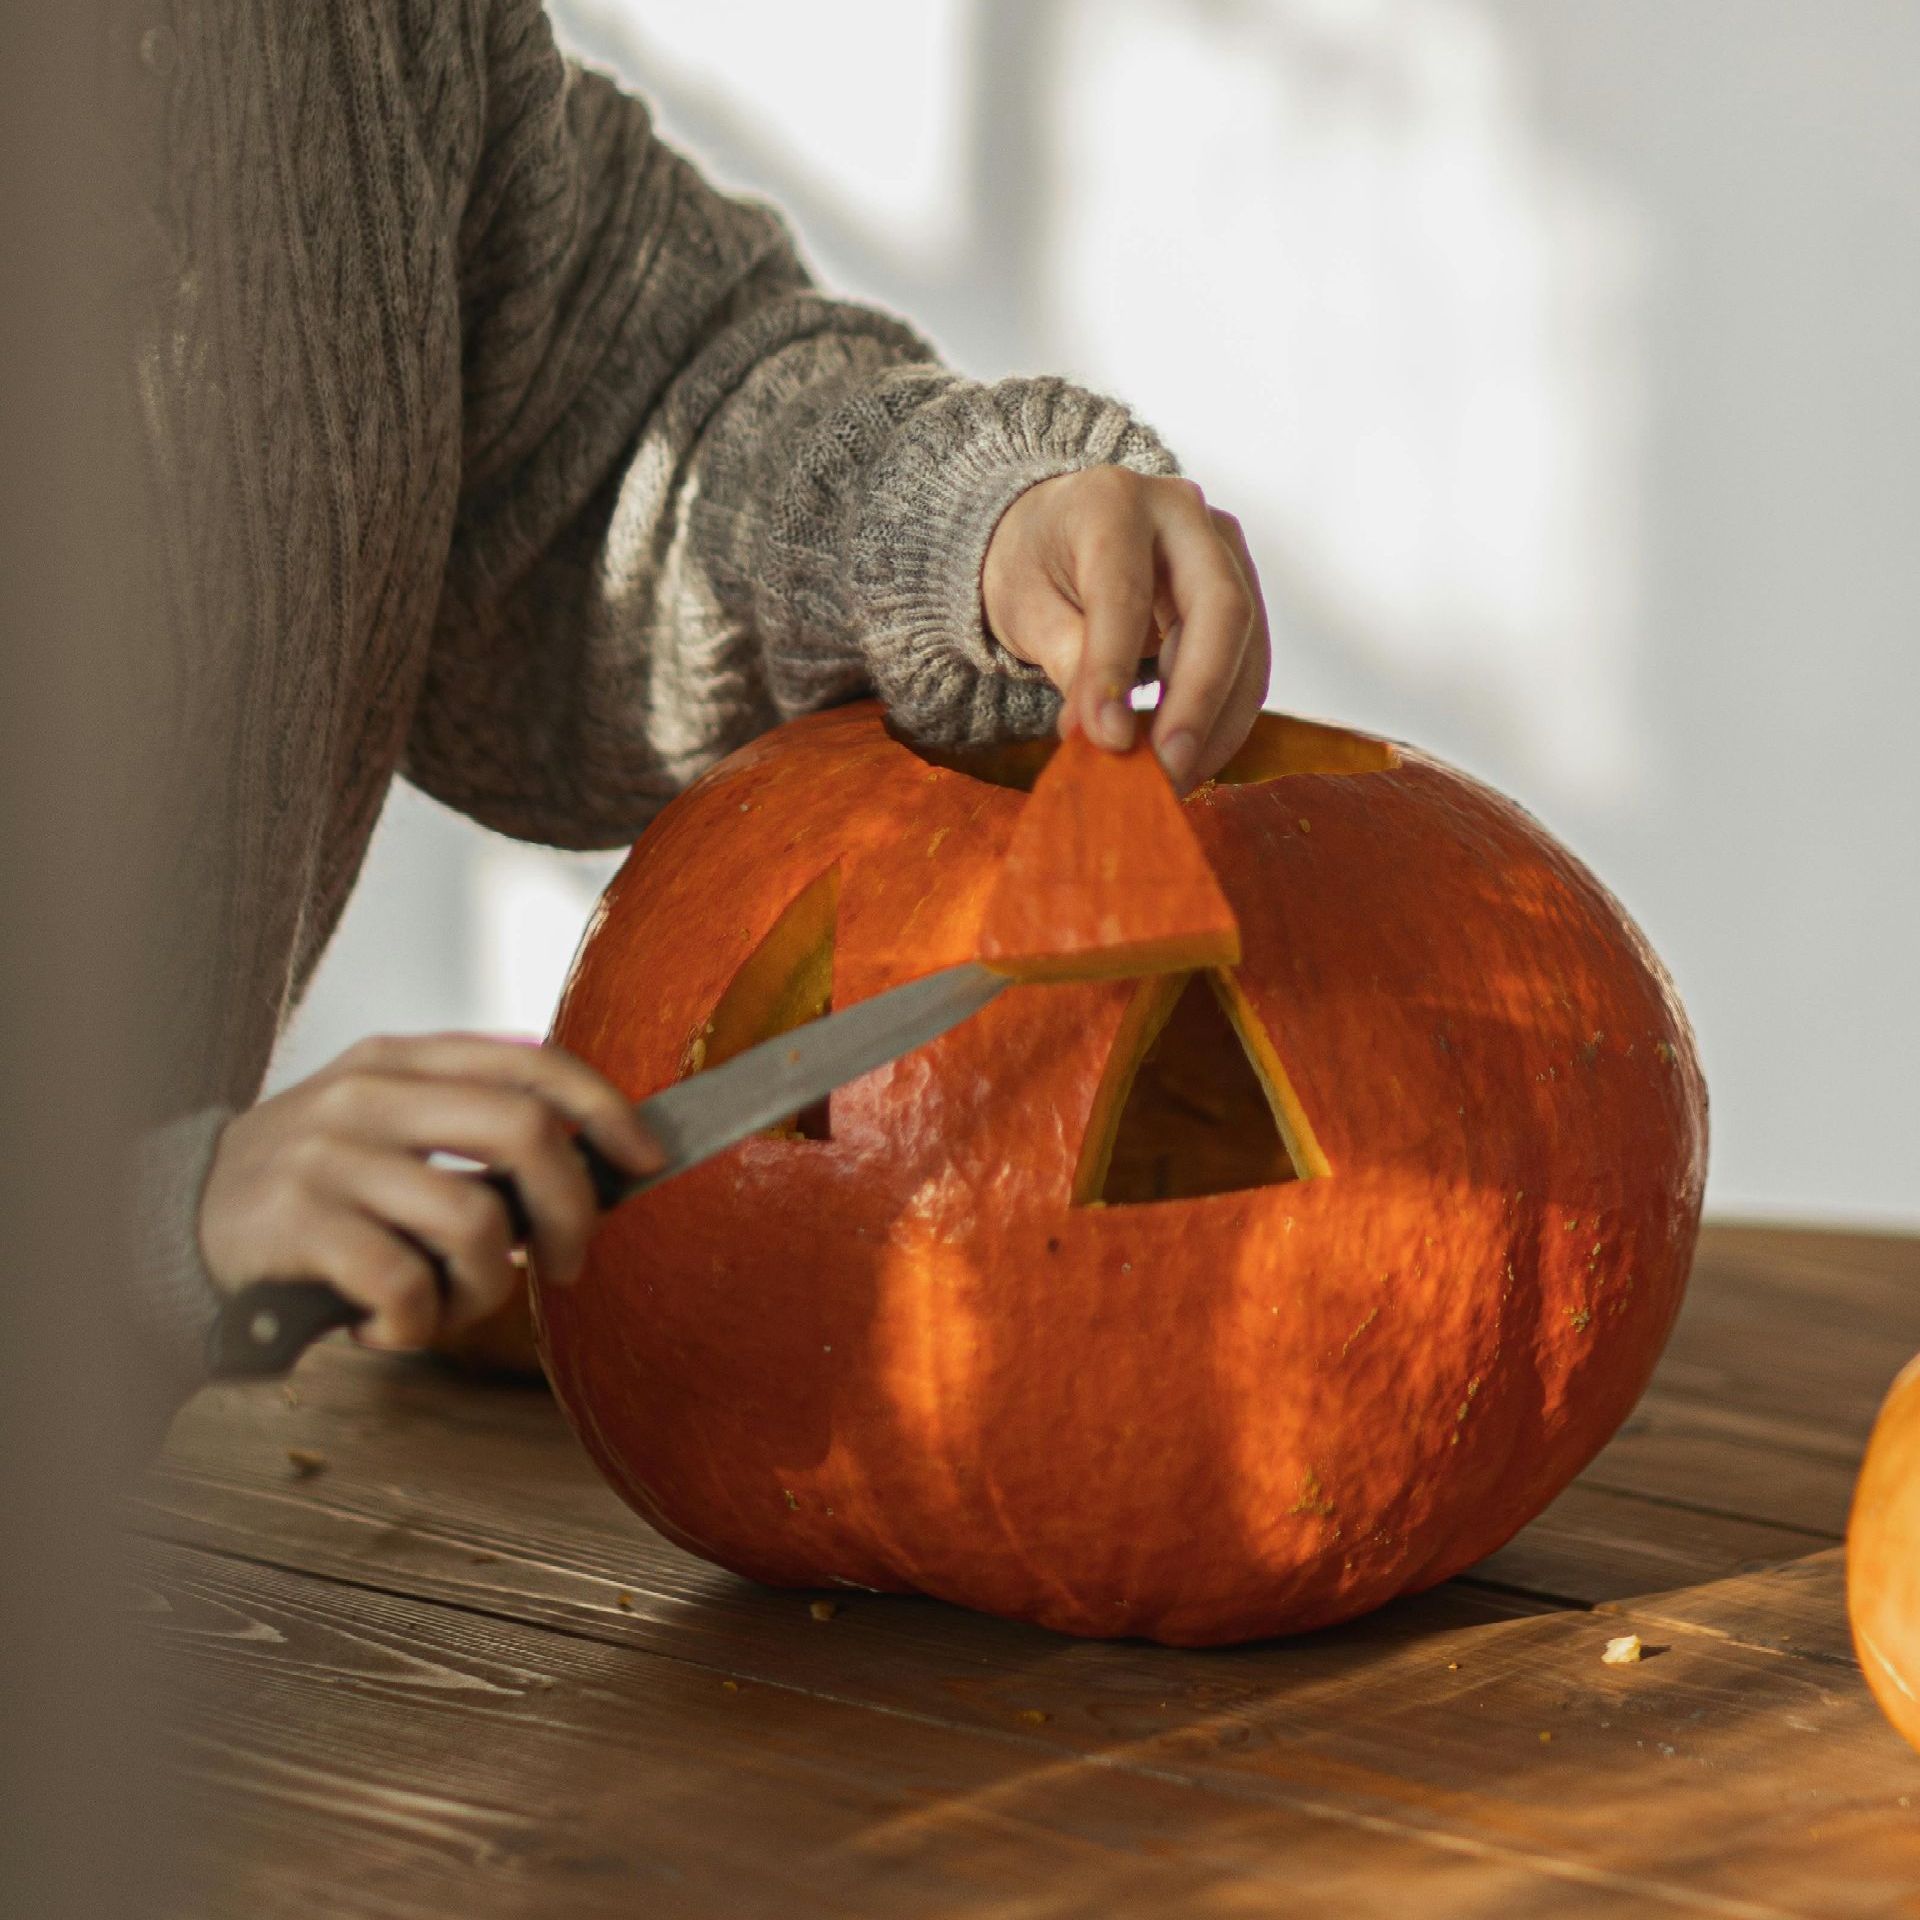
Step 5: Display Your Masterpiece
The best part about living at The Seasons? You can show off your work! Place your carved pumpkin on your patio, balcony, or outside your door for everyone to admire. Not only will you add to the festive atmosphere, but you could also win a prize in our pumpkin carving contest!
The Seasons’ Pumpkin Carving Contest
Want to show off your carving skills and win some cool prizes? Enter The Seasons’ Pumpkin Carving Contest!
- How to enter: Carve your pumpkin and place it on your balcony or front door by Monday, October 28th.
- Judging: We’ll feature all the pumpkins on The Seasons’ social media pages, where our followers will vote for the best design.
- Prize: The 1st and 2nd place winners, announced on
October 30th, will each receive a gift card to
BJ’s Restaurant—perfect for a Halloween night treat!
Decorating Guidelines at The Seasons
We love to see residents getting into the holiday spirit, but it’s important to follow our community’s decorating guidelines. Here’s what you need to know:
- Outdoor decorations: You’re welcome to decorate your balcony, patio, or door with Halloween decor. Many residents like to hang up lights, put up wreaths, or add other festive touches like spooky signs.
- Pumpkin placement: Carved pumpkins should be placed on your balcony or outside your door so everyone can admire your handiwork.
- Safety: If you’re using candles inside your pumpkins, make sure they’re battery-operated to prevent any fire hazards. We want everyone to enjoy Halloween safely!
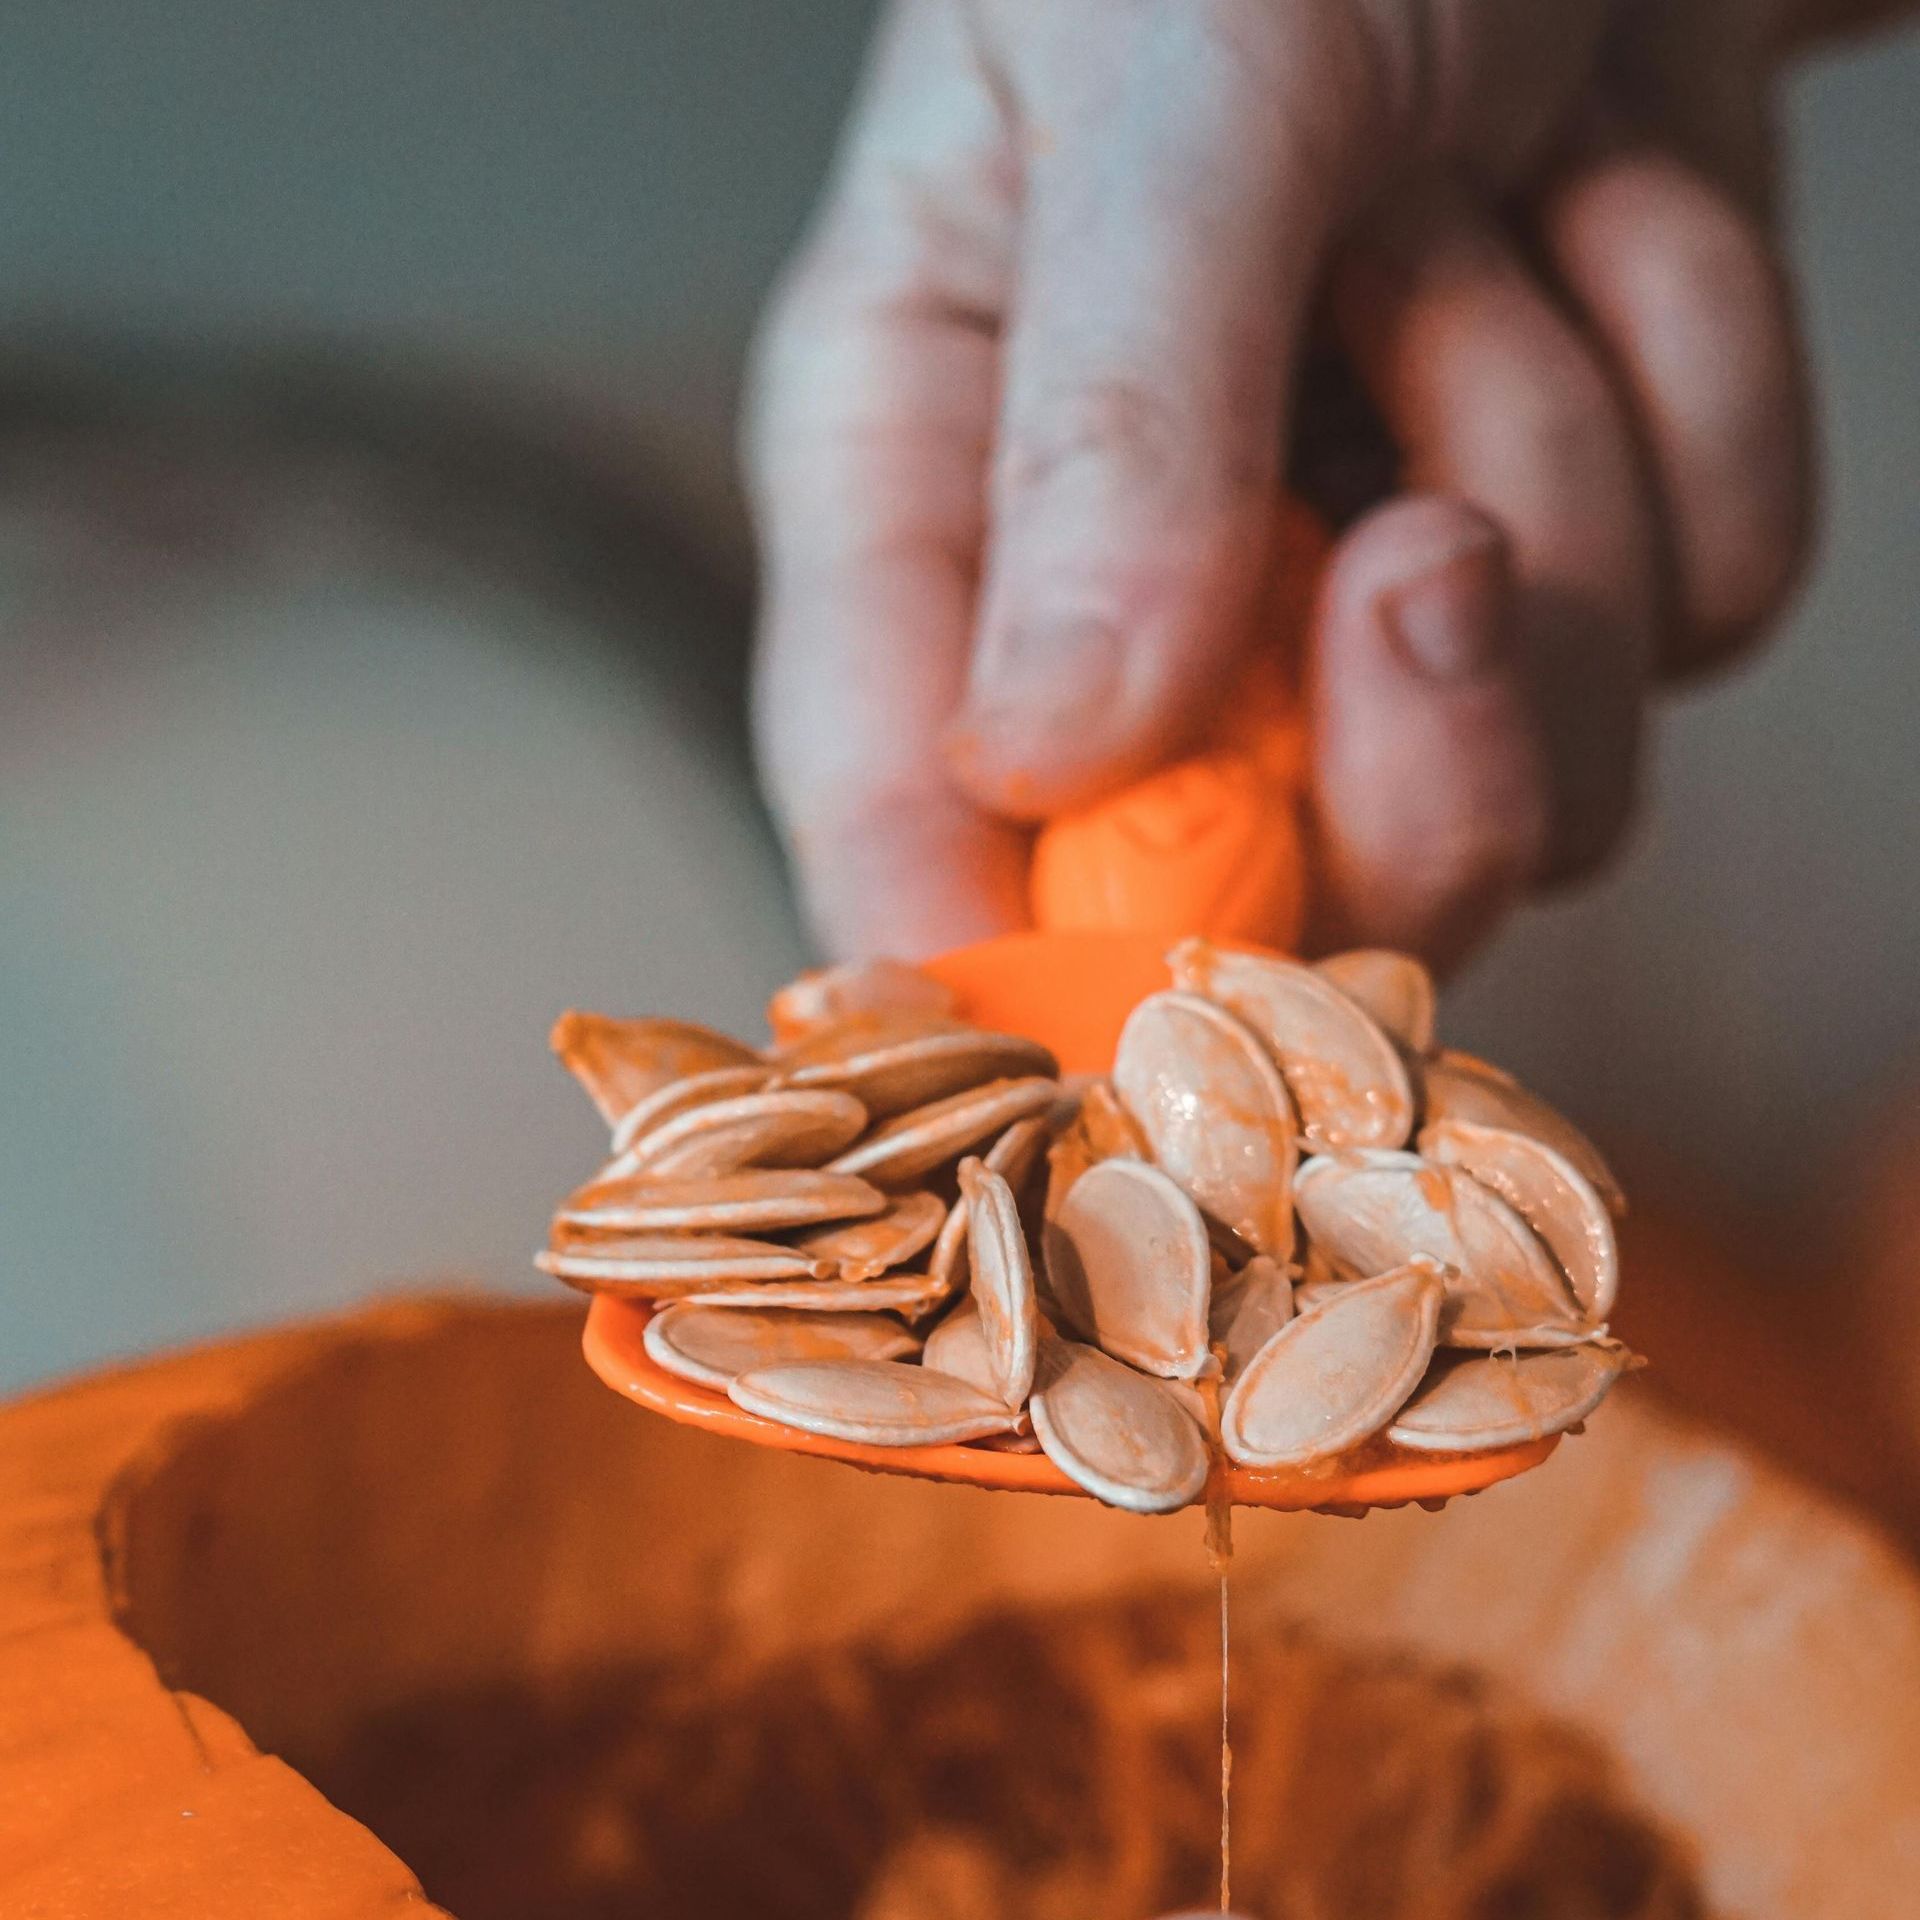
Bonus: What to Do with Pumpkin Seeds
Don’t let those pumpkin seeds go to waste! Here’s a simple recipe for roasting them:
- Rinse the seeds and remove any leftover pumpkin guts.
- Spread them on a baking sheet and drizzle with olive oil, salt, and your favorite spices.
- Roast at 350°F for 20-25 minutes, stirring occasionally, until they’re golden brown. Enjoy a crunchy snack while you admire your newly carved pumpkin!
Get Carving, Get Creative, and Get Ready to Win!
Pumpkin carving is a fun, easy, and budget-friendly way to get into the Halloween spirit. Whether it’s your first time or you’re a seasoned pro, we can’t wait to see what you come up with. Don’t forget to display your pumpkins on your balcony or door by 10/28 and enter our pumpkin carving contest for a chance to win a gift card!
Happy carving, everyone!
About The Seasons Apartments: The Seasons Apartments offer affordable, luxury living spaces designed specifically for students. With top-notch amenities and a prime location near the University of Arizona, it’s the perfect place to call home during your college years.
Stay connected with us on Instagram and Facebook for more tips and updates.
#WildcatLiving #BackToSchool #TheSeasonsTucson

